
Creating high-quality espresso at home involves both science and artistry. Among the critical skills is mastering milk steaming, especially if you enjoy lattes, cappuccinos, or other milk-based drinks. If you’re a home barista with a Breville machine, perfecting your milk texture is key to crafting café-worthy beverages. Let’s explore the essential steps for steaming milk to perfection on your Breville, whether you’re using the Breville Dual Boiler BES920XL Review, the Breville Barista Touch Impress Review, or comparing the Breville Barista Express Impress vs Pro.
The Importance of Milk Steaming
Steaming milk correctly is crucial for both flavor and texture. When done right, milk transforms into a creamy, velvety texture that enhances the espresso’s taste and mouthfeel. Properly steamed milk integrates seamlessly with espresso, providing balance and a smooth finish to each sip. Without good steaming technique, milk can end up too frothy, flat, or even scalded, detracting from the overall quality of the drink.
A well-steamed milk creates microfoam, a smooth layer of small bubbles that add body and texture. This microfoam is essential for latte art and gives your coffee a professional look and taste.
Optimal Temperature for Steaming Milk
For the best flavor and texture, milk should be steamed to around 150°F to 155°F (65°C to 68°C). Heating milk beyond this temperature can scald it, creating an unpleasant taste and losing the smooth, creamy texture that makes lattes and cappuccinos delightful. If you’re new to steaming, consider using a thermometer to gauge the temperature as you learn. Over time, you’ll be able to recognize the right temperature by touch.

Steps for Steaming Milk on a Breville
Achieving great milk texture doesn’t have to be intimidating. Follow these steps for consistent results:
Start with Cold Milk
Always begin with cold milk from the refrigerator. Cold milk gives you more time to create microfoam before it reaches the optimal temperature. Whole milk works best for a creamy texture, while alternative milks like oat or almond require slightly different techniques for best results.
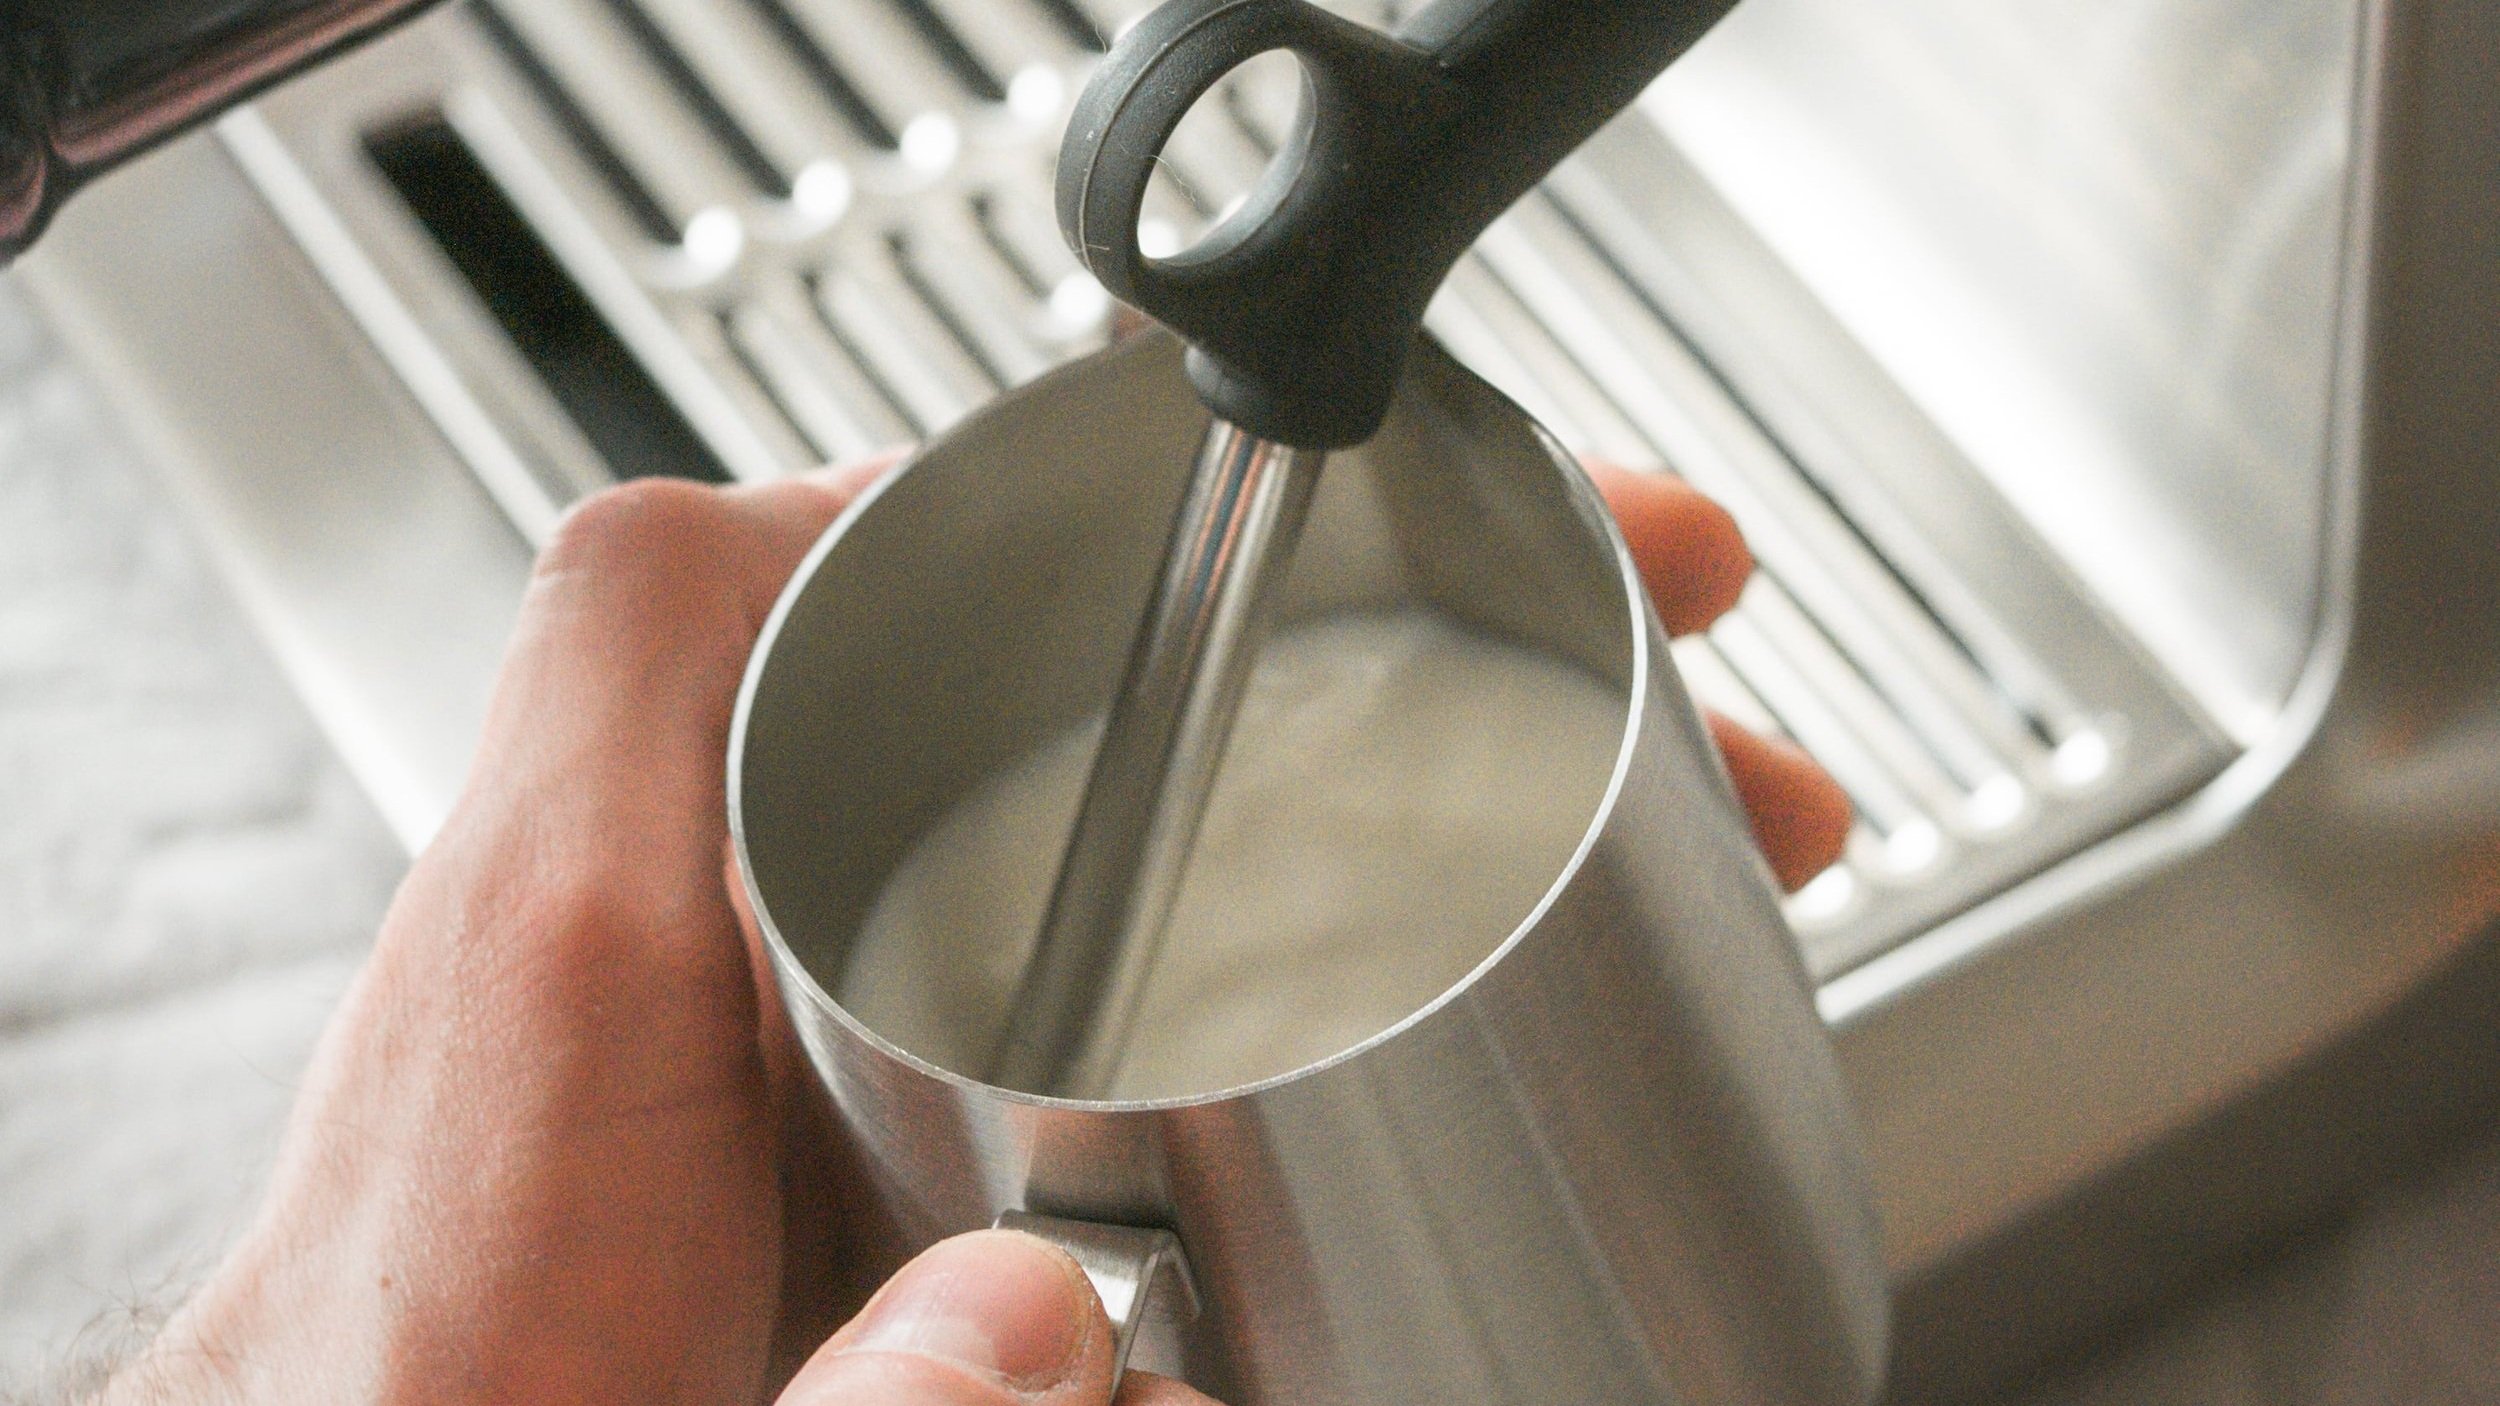
Position the Steam Wand Correctly
Place the steam wand’s tip just below the milk surface. This positioning is essential for incorporating air into the milk, creating that signature microfoam. If the wand is too deep, you’ll end up heating the milk without frothing, resulting in a flat texture.
Incorporate Air in the Milk
Once you turn on the steam wand, allow a small amount of air to mix into the milk by keeping the wand just below the surface. You should hear a gentle hissing sound as air is incorporated. Too much air results in larger bubbles and frothy milk, while too little air prevents the milk from achieving the ideal texture.
Create a Vortex
After adding air for a few seconds, lower the steam wand slightly deeper into the milk to create a swirling or vortex motion. This movement helps integrate the air evenly, creating a uniform microfoam without large bubbles. Continue until the milk reaches your target temperature.
Monitor Temperature and Texture
Keep an eye (or hand) on the milk temperature as it heats up. As it nears the right temperature, you’ll feel the jug become too warm to hold for more than a couple of seconds. At this point, stop steaming. If you’ve been using a thermometer, aim for the 150°F to 155°F range.
Common Steaming Mistakes to Avoid
Even experienced home baristas occasionally make errors when steaming milk. Avoid these common mistakes to improve your results:
- Overheating the Milk: Exceeding the optimal temperature range can scald the milk, leading to a burnt taste and sacrificing smoothness.
- Introducing Too Much Air: Frothy milk with large bubbles doesn’t have the smooth, creamy texture essential for lattes and cappuccinos. Incorporate only a small amount of air initially.
- Neglecting to Clean the Wand: Always purge the steam wand before and after use to remove any residual milk, which can impact the flavor and hygiene of future drinks.
Enhance Your Steaming with Essential Tools
For consistent results, consider investing in a few additional tools. A milk thermometer helps you track temperature accurately, especially when you’re first learning. Milk jugs with spouts are also excellent for controlling the pour, particularly if you’re interested in creating latte art.
Pressure gauges and alternative steam tips can also provide better control over steaming speed and texture, allowing for an even more refined milk-steaming experience.
Conclusion: Perfect Your Milk-Steaming Technique with Practice
Milk steaming is an art that requires practice, patience, and a little finesse. Focus on starting with cold milk, incorporating a small amount of air, and creating a smooth vortex. Over time, you’ll develop a sense for when the milk reaches the perfect temperature and texture, allowing you to craft café-quality drinks right at home. Enjoy the journey, experiment with different techniques, and soon, you’ll be steaming milk like a professional barista! For those using machines like the Breville Barista Pro vs Express or the Breville Oracle vs Oracle Touch, mastering the milk steaming process will elevate your home coffee experience even further.