
Creating café-quality coffee at home is a satisfying art, especially when you know how to steam milk like a pro. Mastering milk steaming on the Breville Barista Express elevates any espresso-based drink, and though my early attempts were less than perfect, practice brought silky success. If you’re ready to refine your milk-steaming skills, here’s my guide to achieving that luxurious microfoam at home. For further insights, check out my reviews on the Breville Dual Boiler BES920XL Review, Breville Barista Touch Impress Review, and the comparison of the Breville Barista Express Impress vs Pro.
Familiarize Yourself with Your Machine
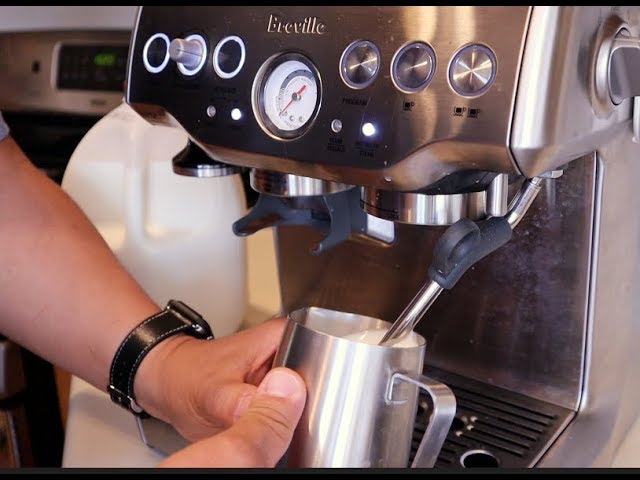
The Breville Barista Express offers café-level features for home use, including a flexible 360-degree steam wand. To ensure top-quality foam, make sure the machine is fully heated before steaming. The machine’s indicator lights show when it’s ready, and this preheat is essential for achieving the right milk texture.
Selecting and Preparing Your Milk
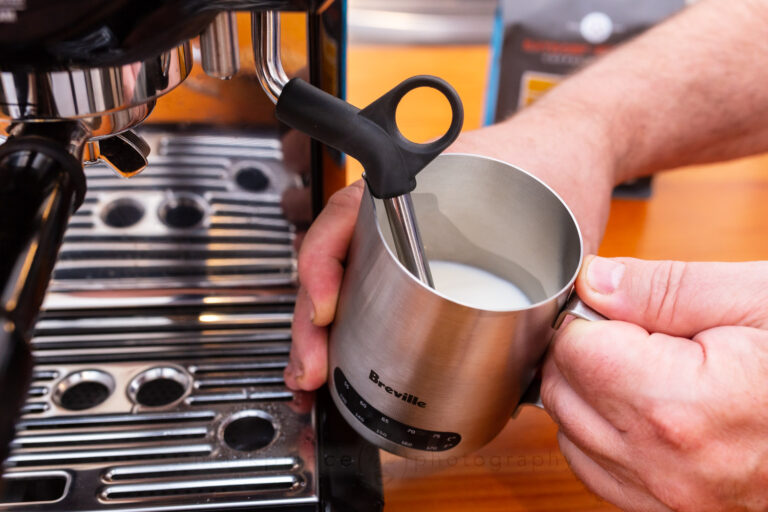
The type of milk matters for a quality froth. Whole milk delivers a rich, creamy texture due to its fat content, while skim milk gives a lighter, airy foam. If you prefer plant-based options, oat, almond, and soy milk can work well, though they froth differently. Always start with cold milk in a stainless steel jug, which is ideal for heat conductivity and lets you gauge temperature by touch.
Step-by-Step Guide to Steaming Milk with the Breville Barista Express
Purge the Steam Wand
Begin by purging the steam wand to remove any condensation, which allows for dry steam and a smoother microfoam.
Positioning the Steam Wand
Position the steam wand tip just below the milk's surface near the spout of your jug. Holding the jug at a slight angle helps create a whirlpool effect, essential for a smooth texture.
Incorporate Air (Stretching Phase)
Turn the steam knob to full power. A hissing sound signals that air is entering the milk—this is the "stretching" phase. Keep the wand tip slightly under the milk’s surface for the first few seconds to introduce air gently. Too much air will cause larger bubbles rather than the fine microfoam you want.
Texture the Milk
After incorporating air, raise the jug slightly to fully submerge the steam wand. The milk will continue swirling and heating, breaking down larger bubbles to create a velvety, smooth texture. Aim for a glossy, wet-paint-like finish.
Monitor the Temperature
Use touch to judge temperature; when the jug is too hot to hold comfortably (around 150°F or 65°C), it’s time to stop. A thermometer can help for precision, but avoid heating above 170°F (77°C), as overheating scalds the milk, diminishing its sweetness.
Turning Off the Steam
Before lifting the wand out of the milk, turn it off to avoid splattering. Then carefully remove the steam wand from the jug.
Final Steps for a Perfect Foam
Tap and Swirl
Gently tap the jug on the counter and give it a swirl. This process helps remove any larger bubbles and ensures a silky, glossy texture.
Clean the Steam Wand Immediately
Wipe down the steam wand with a damp cloth and purge it again after every use to avoid milk buildup. This quick clean helps maintain the wand’s performance over time.
Pouring with Precision
When pouring your milk, tilt the cup slightly and pour steadily into the center. Pouring from a higher point at first mixes the milk with the espresso, then bringing the jug closer as you pour allows for latte art. Try simple designs like hearts or leaves—they’re easier than they seem with practice.
Pro Tips for Better Milk Steaming
Practice Is Key
Each type of milk froths a bit differently, so practice is essential for mastering the nuances.
Use Fresh Milk
Fresh milk has a higher protein content, which helps with frothing. Avoid milk that’s close to expiration or open for too long, as it won’t froth as well.
Experiment with Alternative Milks
Plant-based milks like barista-style oat or almond are great for frothing, though they may require a slightly different technique. Don’t worry if your first tries aren’t perfect.
Common Mistakes to Avoid
Over-Aerating the Milk
Incorporating too much air creates a bubbly mess rather than a smooth microfoam. Aim for minimal air for a fine texture.
Overheating the Milk
Milk scalds at around 170°F (77°C), which diminishes its sweetness. Keep a close eye on the temperature to maintain its natural flavor.
Skipping Wand Cleaning
Regular cleaning prevents milk buildup, which can clog the wand and reduce steaming efficiency. Make it a habit after each use.

Conclusion: Elevate Your Home Coffee Experience
Mastering milk steaming with the Breville Barista Express has transformed my home coffee game. There’s something deeply satisfying about crafting a creamy, rich latte or cappuccino with perfectly steamed milk. While it may seem daunting at first, a little practice will have you steaming milk like a pro, creating café-quality drinks right in your own kitchen. So, turn on your machine, grab your milk jug, and start steaming—soon, you’ll be making barista-quality coffee that rivals any café. If you’re considering upgrading, you might also want to explore the differences between the Breville Barista Pro vs Express or even the Breville Oracle vs Oracle Touch for an even more luxurious experience.